
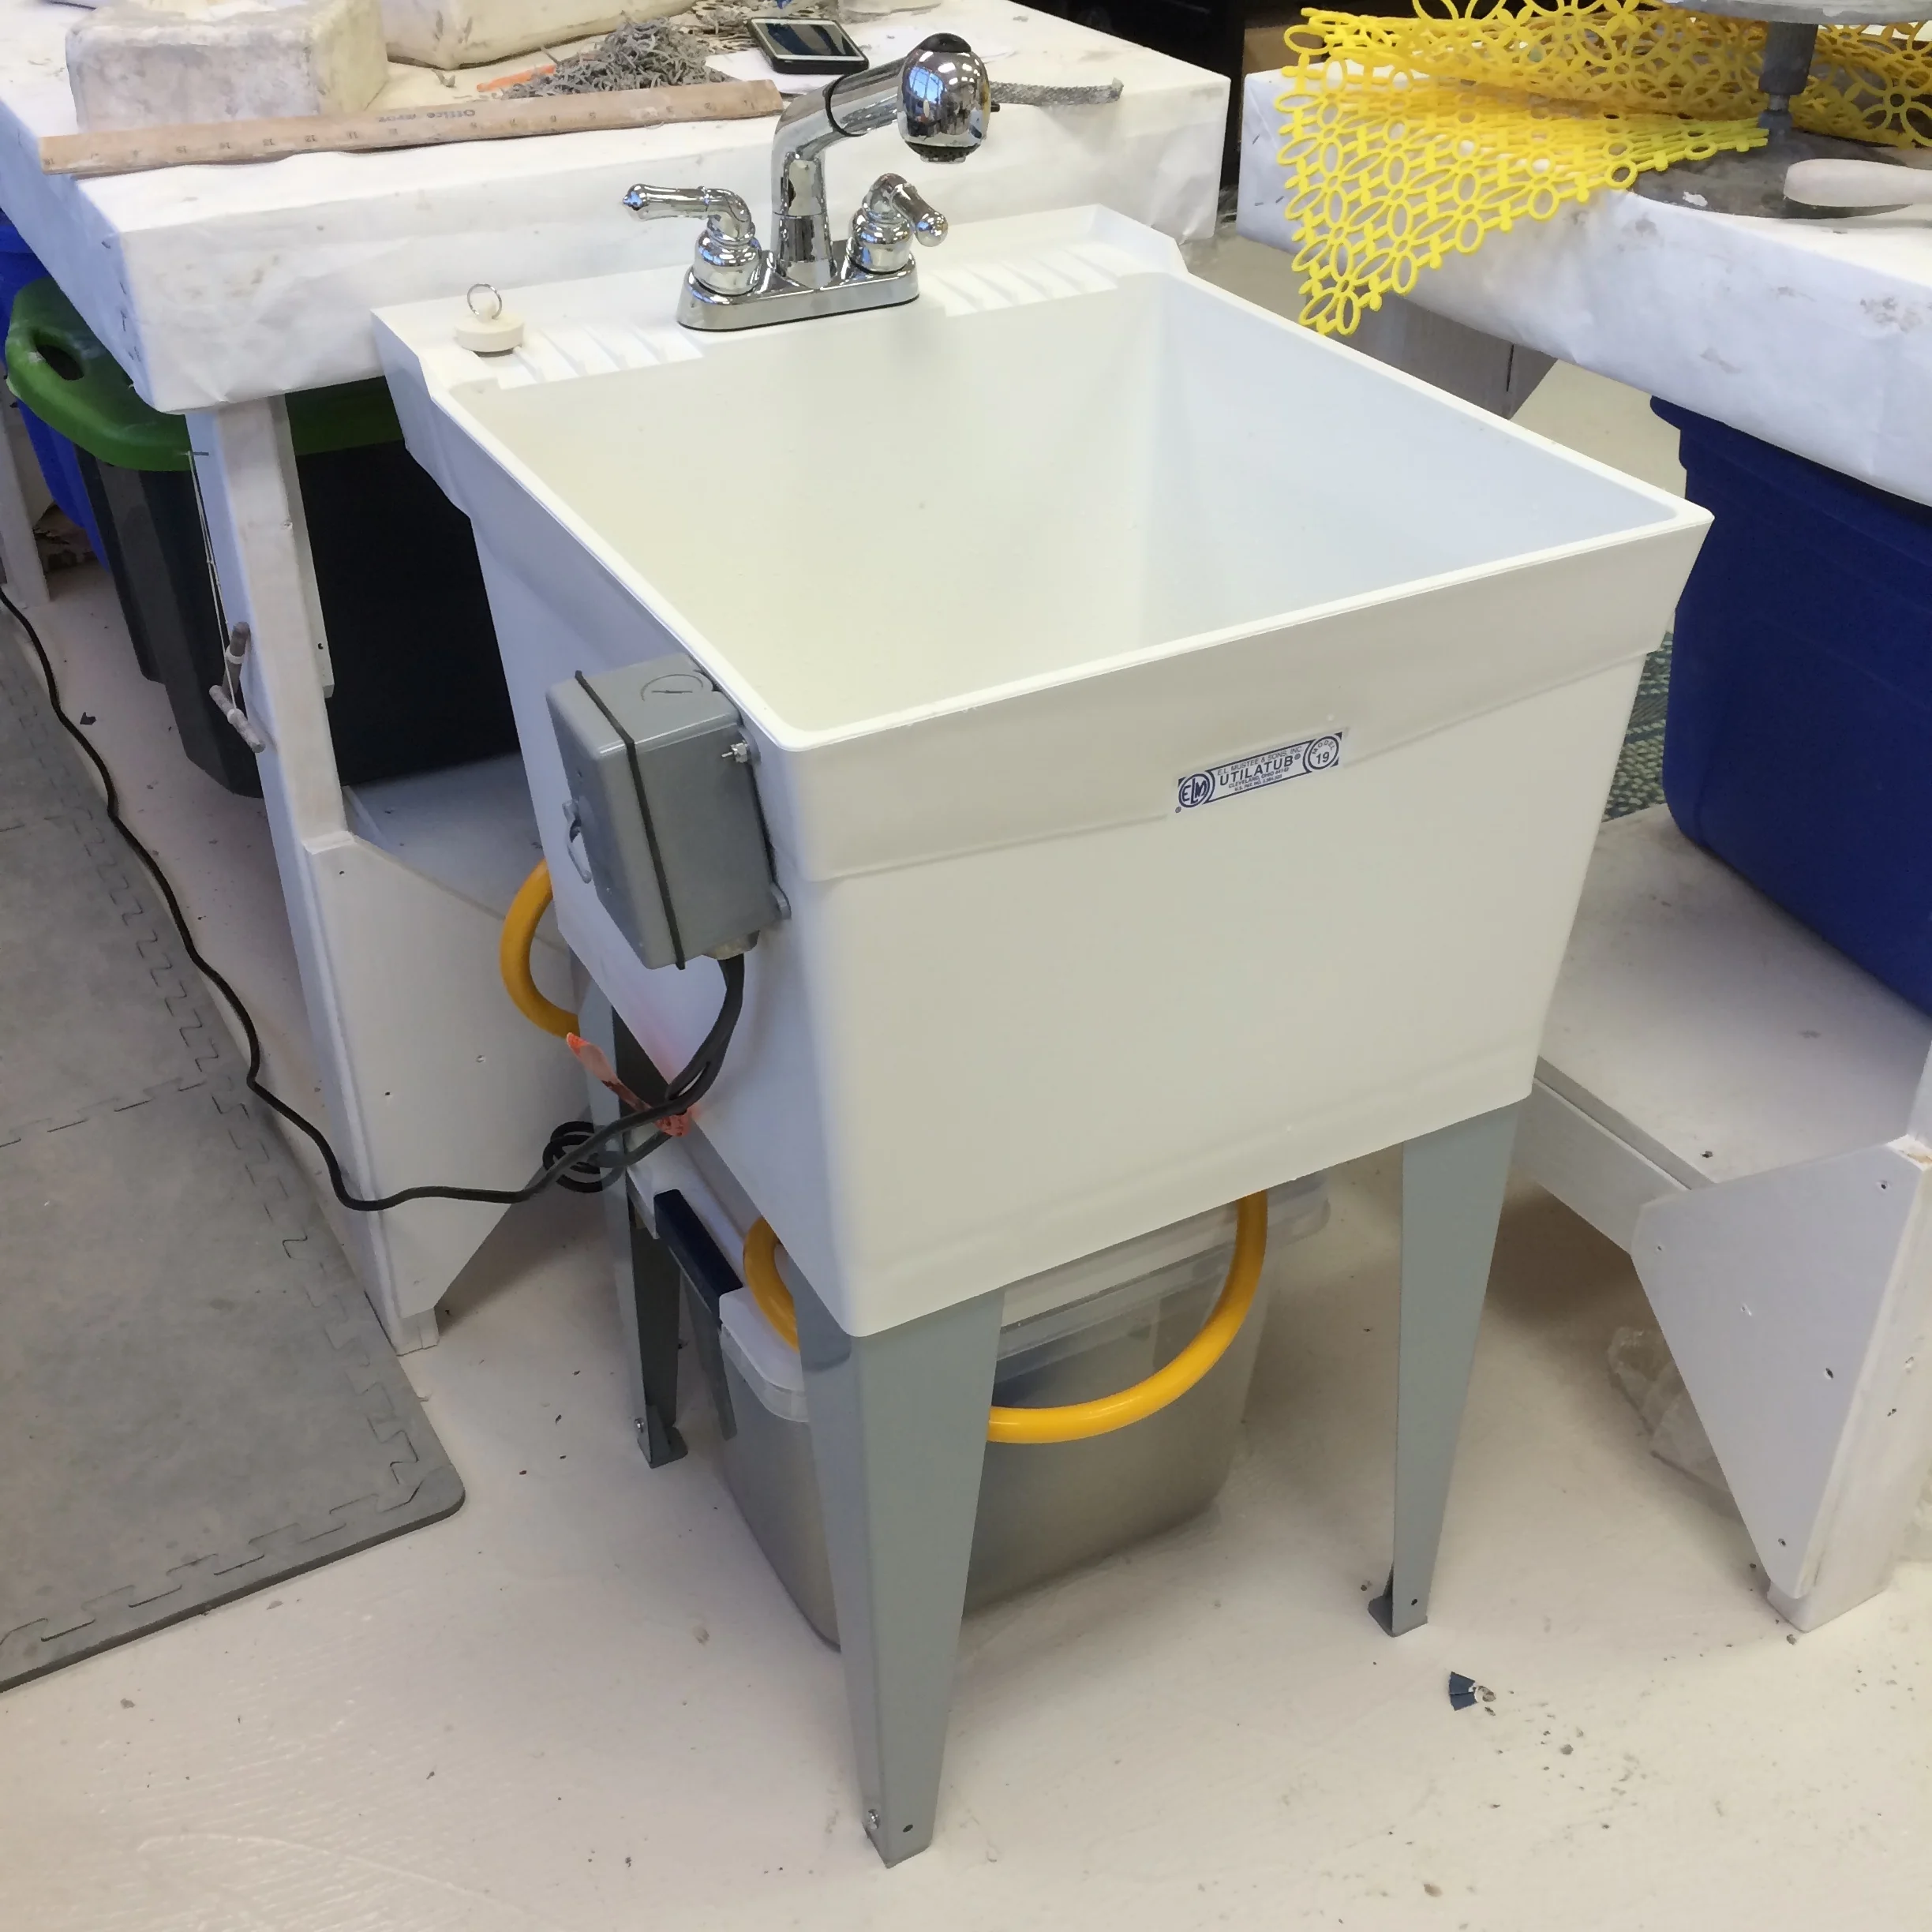
ReciRculating Studio Sink
Here are some general plans for the recirculating clay sink we built. It's great for rinsing pottery wheel splash pans or anything with a lot of clay on it, without worrying about clogging your plumbing.
Inspiration
- Marsha Rita's Mixed Bag post (archived copy)
- Ceramic Arts Daily Triple-Stage Clay Trap
- Ceramic Arts Daily Better Homemade Sink Trap
- Creative Industries (Ci Products) Cink
Parts
- Utility Sink: Mustee Model 19, 20-in x 24-in with drain and faucet
- Pump: WAYNE PC2 Portable Transfer Water Pump With Suction Hose And Attachment
- Brass fittings:
- 3/4" male hose to 1/2" FIP (make sure this fits one of the faucet taps)
- 1/2" threaded cap fitting (to close off the 2nd faucet tap)
- 2X 3/4" Female hose menders
- Weatherproof switch: Hubbell TayMac 1-Gang Rectangle Metal Weatherproof Electrical Box Cover
- Exterior switch box: Hubbell TayMac 1-Gang Gray PVC Weatherproof Exterior Electrical Box
- Cable strain relief: Gampak 3/4-in BX-MC Flex Connector
- Outdoor extension cord with ground
- Plastic storage container for water reservoir: Hefty 29-Quart Clear Tote with Latching Lid
- 2-Gallon Bucket
- 1-Quart Bucket
- Misc:
- Approx. 2' long 1"x4" board (to mount the pump)
- 2X sets of small nuts and bolts to mount the switch
- 4X screws to attach the pump to the board
- 4X screws to attach the board to the sink legs
- Bricks, tiles, or rocks to adjust height of bucket inside storage container
- Zip ties to mount pump suction attachment onto 1-qt bucket
- Misc. drill bits and cutting tools
Reservoir & Trap System
The drawing should be self-explanatory. The idea is that most of the clay will settle in the outer container. The 2-gallon bucket keeps the suction plate out of most of the clay, and then the 1-quart bucket keeps it above any sediment that makes it into the 2-gallon bucket.
Test the fit of everything before you cut holes in the lid.
Pump Mounting
Mount the board between the back legs of the sink (low enough that it will be below the lip on the 29-quart container). You will have to drill holes in the metal legs.
Mount the pump onto the board in the orientation shown in the picture.
Cut the hose - one section will connect the pump inlet to the suction plate in the reservoir, the other section will connect the pump outlet to the faucet. Use the brass "hose menders" on the cut ends.
Sink Connections
Connect the outlet of the pump to one of the faucet inlets using the "hose mender" and the appropriate brass fitting (3/4" hose male to 1/2" FIP for us). Plug the other inlet with a cap (1/2").
In operation, the faucet handle with the cap always stays closed, and the one with the hose always stays open. Flow is controlled by turning the pump on and off with the switch.
Electrical Switch
Make sure to only use this on a grounded, GFCI outlet.
Cut the plug off the end of the pump power cable and the female end of the extension cord. Using the switch, outlet box, and cable strain relief, wire it up so that the switch controls power to the pump. Consult an electrician if you are unsure about any of this. Electricity and water can be dangerous!
Mount the outlet box to the side of the sink using small nuts and bolts (see the picture at the top of this page).